
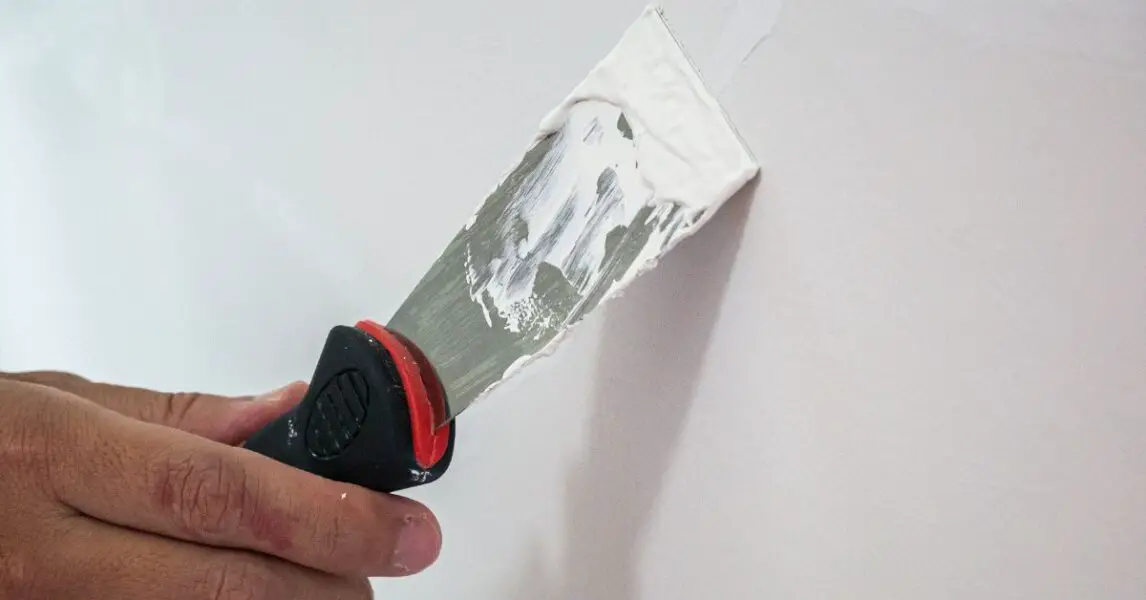
As the years go by, it is very common to see scratches and fissures in a large part of our house. These are very easy to repair, but first we have to know if it is a simple break, fissure or crack.
When is it safe to repair a wall?
To know if it is in perfect condition to repair it yourself, you have to know there is a difference between scratch, fissure and crack.
The breaks are very small, about 1 centimeter deep. These hardly affect masonry, as they only occur in paint or plaster. These can be easily corrected with the step by step below.
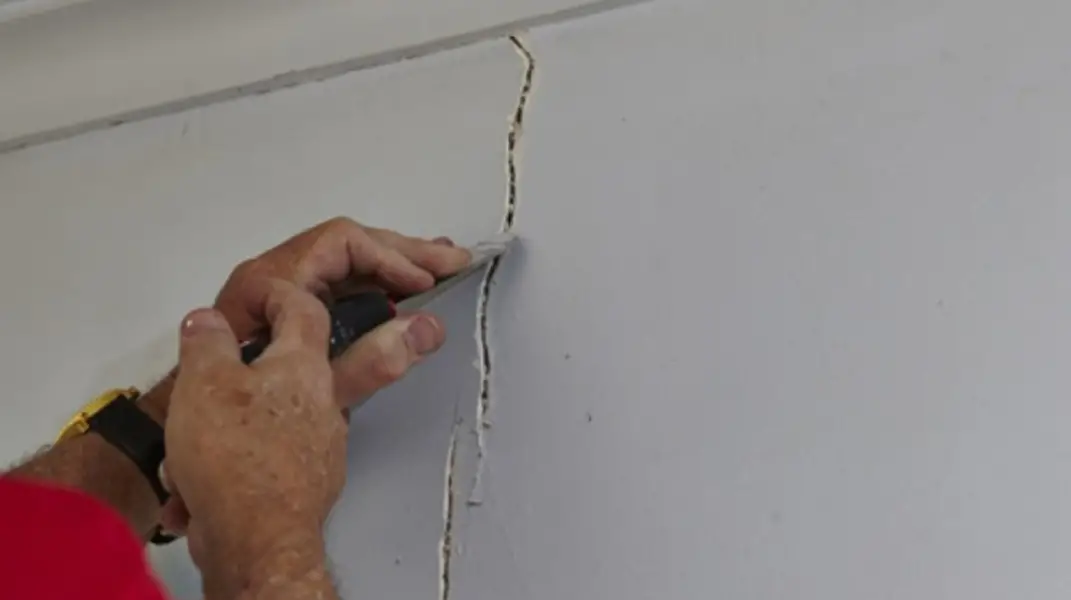
On the other hand, the fissures are scratches, but a little deeper. From approximately 1 to 3 centimeters, these are safe if rainwater, wind or street light does not pass through them. The problem is when they are close to the beams, columns or slabs, that is when you have to call a professional to make sure you do not cover up a structural problem that continues to worsen over time.
However, the cracks can be more than 3 cm deep (which would be dangerous). These cannot be repaired like the previous two, as you could hide a serious problem that requires a professional solution.
With this in mind, you can already think about repairing it yourself or calling a professional. If you choose the option to repair it yourself, then follow the following steps that I am going to leave you:
Materials
Rubber Gloves
Protective Mask
Plastic Tarpaulin
Sandpaper
Smooth trowel (can be plastic or metal)
Spatula
Brush
Putty (or some similar product that is especially for these cases)
Procedure
- Place the tarp around the place where you are going to make the repair. This prevents the product from getting dirty and then you have to spend hours cleaning the floor.
- To take care of your health, put on your protective mask and gloves.
- We grab the spatula and proceed (very carefully) to remove the small pieces that are loose inside the break.
- Then with the brush, we make sure to remove all the dust that remains. This helps the product adhere more easily.
- It is important that the place is very dry
- We proceed to put the putty little by little until the inside of the break is well filled.
- With the smooth trowel, proceed to pass all the putty through the break, leaving it very neat.
- Let it dry for about 24 to 48 hours.
- After some time, we use the sandpaper to finish removing the imperfections.
- Finally, you can paint it the color you have on the wall.
With just these simple steps, you have solved this problem. If you see that it doesn’t fit you very well, you can continue practicing or call a professional.